2 Setting up your computer
You will need to have both R and RStudio installed on your computer to complete this course. Although it’s not essential to have the newest version of RStudio, you’ll need at least R version 4.0 or higher. You might also need administrative permissions to install these programs on your machine.
After setting up R and RStudio, you’ll install a few R packages to work with climate and environmental data. Finally, you’ll download one small dataset later in the module to practice running basic analyses — nothing too heavy or complicated.
2.1 R
The R statistical computing environment is the core tool we’ll use for data exploration and visualization in this course. You can download the latest version of R (version 4.2.3) from the Comprehensive R Archive Network (CRAN).
Make sure you download the correct installer for your operating system — Windows, macOS, or Linux. Once installed, you’ll be ready to connect it with RStudio, the interface we’ll use throughout the course.
2.2 RStudio
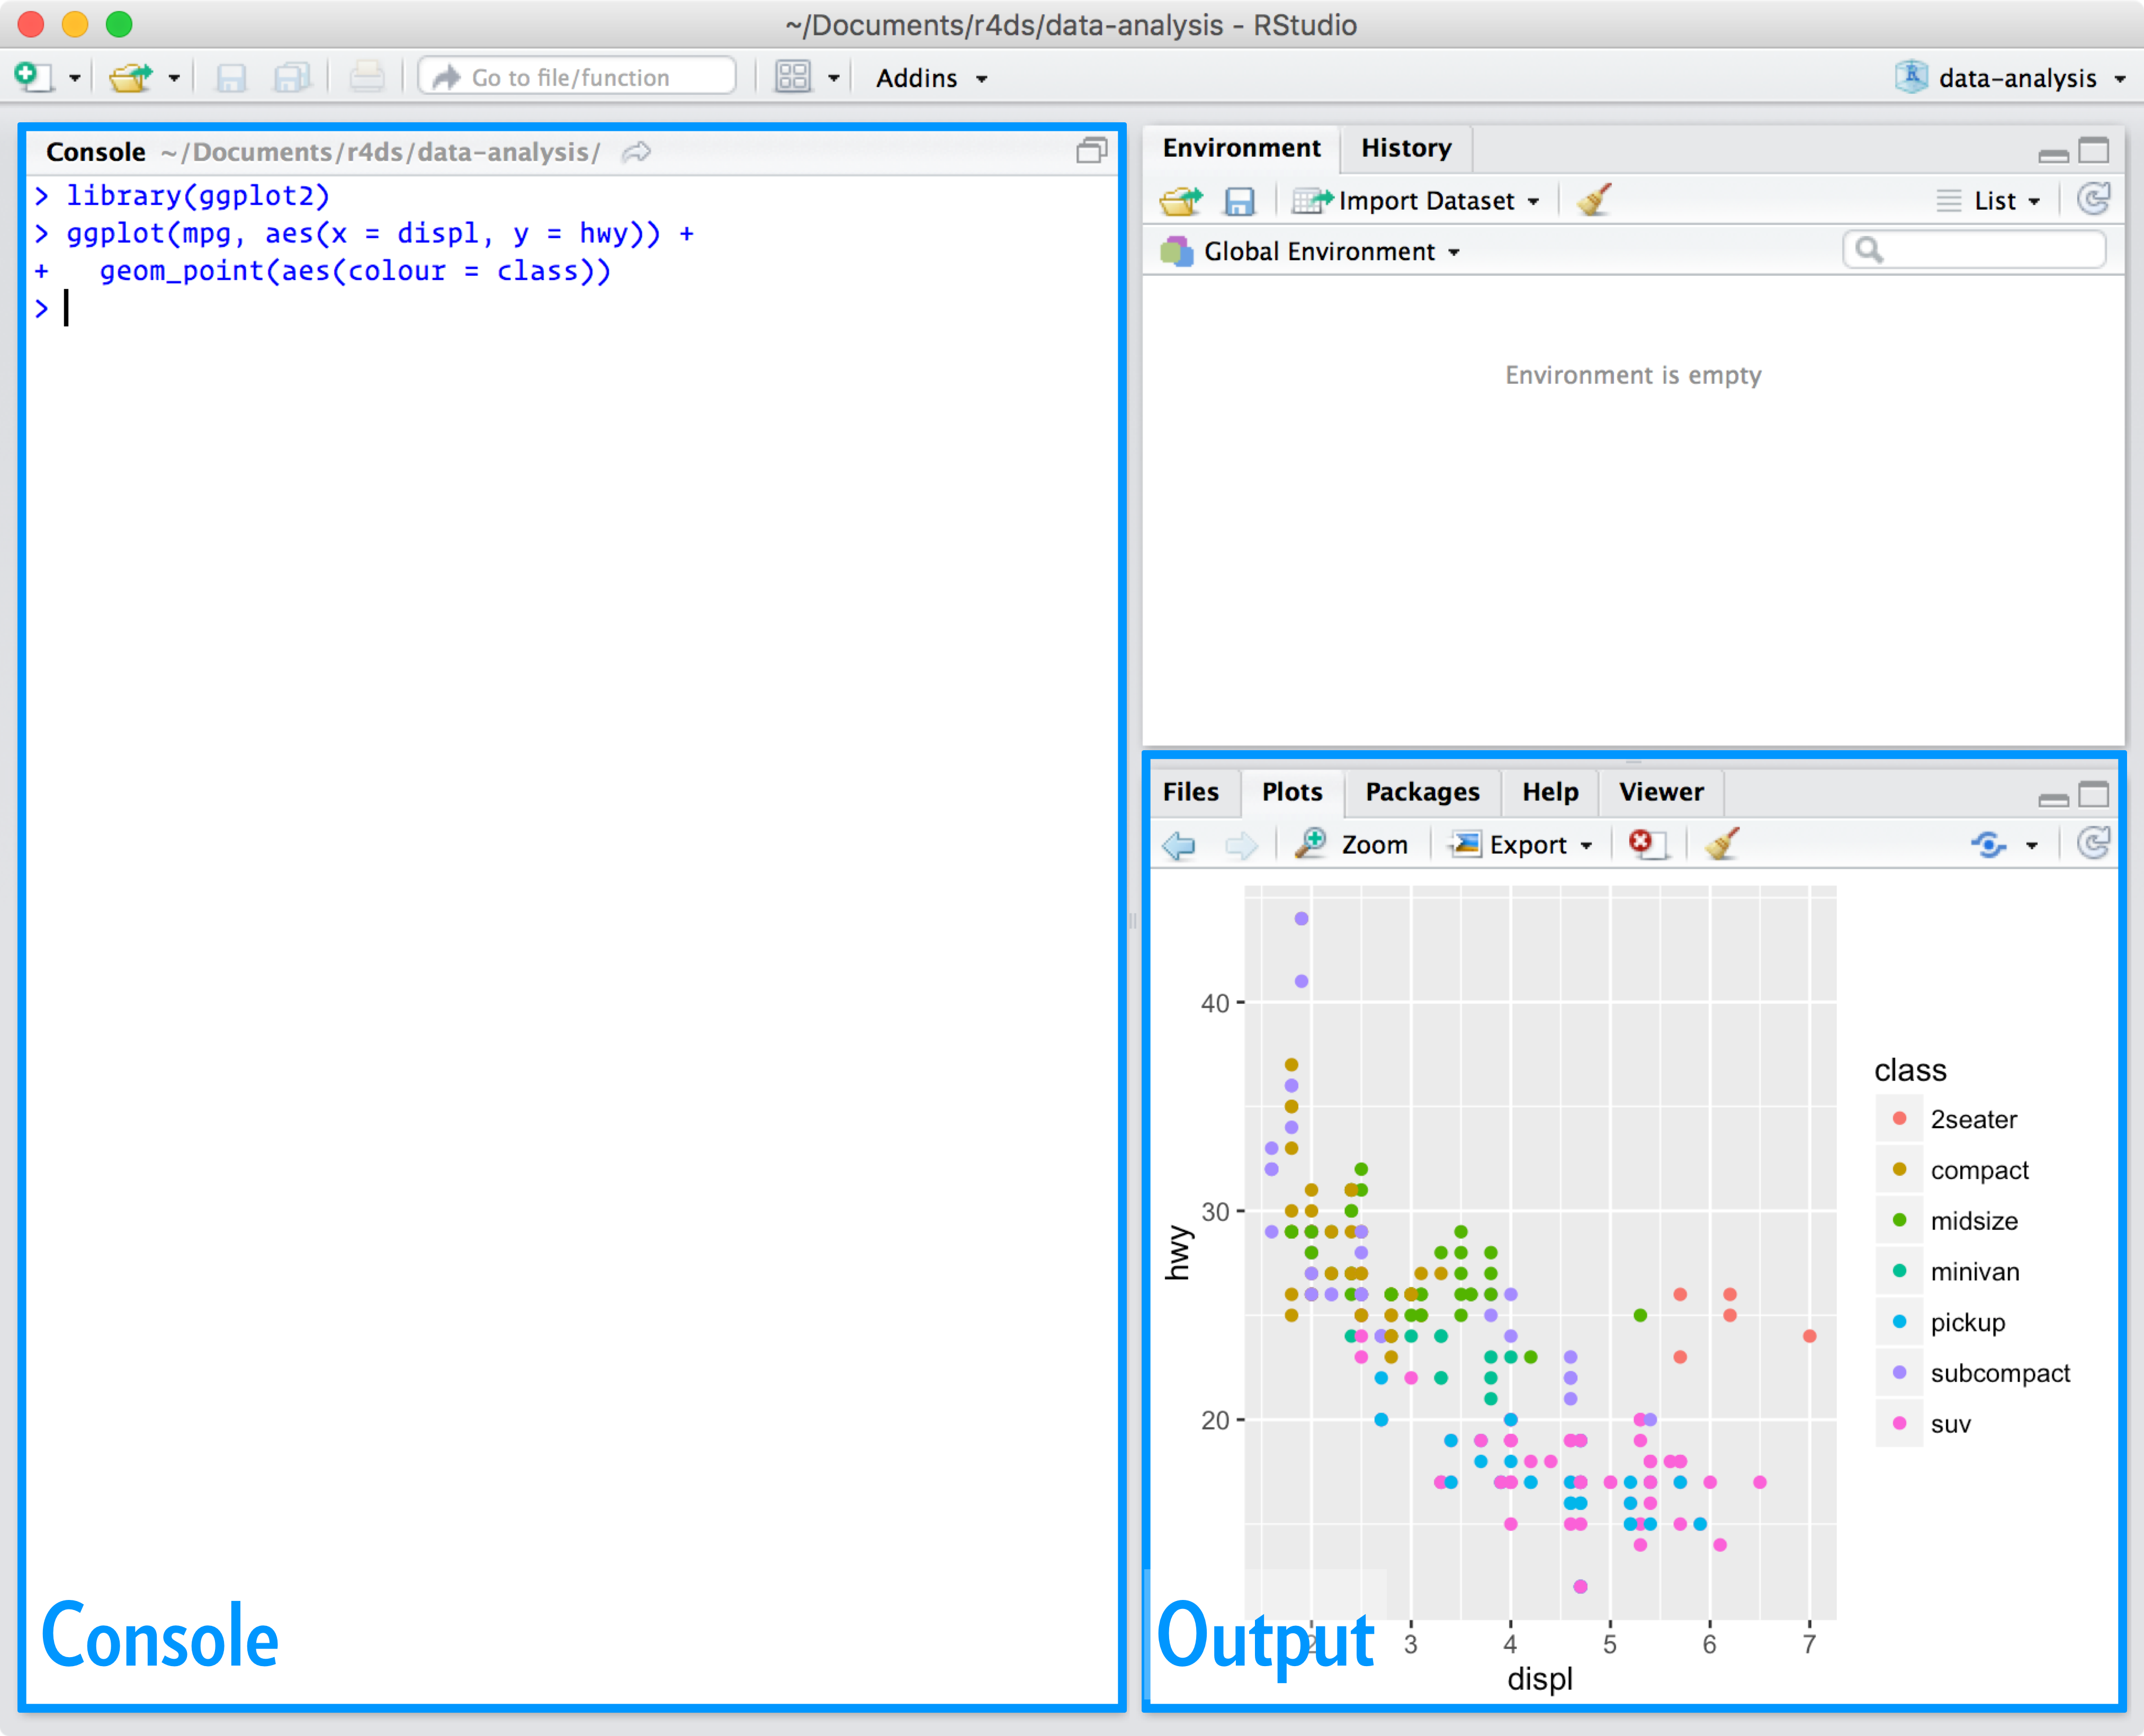
RStudio is an integrated development environment (IDE) — essentially, the workspace where you’ll write and run your R code. It makes coding more organized and interactive, combining the console, scripts, plots, and files all in one place.
You can download the latest version of RStudio here. Once installed, open RStudio and explore its main interface — you’ll find a console to run commands, a panel for your scripts, and other tabs for plots, files, and packages.
You can type R code into the Console and press the enter key to run code.
2.3 R packages
An R package is a collection of code, data, and documentation that extends what R can do. There are now thousands of packages on CRAN, covering everything from basic statistics to machine learning and climate modeling.
In this course, we’ll only use a small handful — just enough to explore, visualize, and handle climate data efficiently. You’ll see that most R workflows build on the same few “core” packages, so getting comfortable with these will serve you well beyond this class.
Navigating
R
Because the R ecosystem is so extensive, the question is almost never “can I do this in R?” but rather “which package should I use to do it?”
To install the required packages, copy and paste the code below into the Console in RStudio, then press Enter. You’ll need an internet connection, and the installation may take a few minutes.
# Core packages for this course
install.packages(c(
  "terra",         # raster and vector data
  "sf",            # spatial data manipulation
  "dplyr",         # data wrangling
  "ggplot2",       # plotting and visualization
  "maps",          # quick "dirty" plot
))
Caution
If you already have some of these installed, R will skip them automatically. No need to reinstall everything from scratch.
2.4 (Optional) Create an R Project
For those who want to stay extra organized, you can set up an R Project. An R Project connects directly to a folder on your computer, keeping your scripts, data, and outputs neatly contained in one place.
Using an R Project is a good habit for reproducible research — it keeps your workflow clean and avoids the classic “where did I save that file?” problem. Everything you do — data cleaning, analysis, and plotting — stays inside a single self-contained folder.
Example: Setting up an
R Project
- In the File menu, choose New Project
- Select New Directory
- Click New Project
- Under Directory name, type:
esm_240_{USERNAME}
- Leave Create Project as subdirectory of: set to
~(your home folder)
- Click Create Project
Tip
If you already have your own folder system that works for you — that’s fine too.
This step is optional, but it can make life easier, especially when you start juggling multiple datasets or assignments.
2.4.1 Paths 101: How R Knows Where to Look
If you’re new to coding or file systems, this is worth a quick read — it’ll save you a lot of confusion later on!
Every file on your computer has a path, which tells R where to find it.
There are two main types:
Absolute path: starts from the very top (root) of your computer’s file system.
Example:/Users/ibrito/Desktop/esm_240/Relative path: starts from your current working directory — basically, the folder R is “looking at” right now.
Example:data/my_file.csv(relative to where your project lives)
Important
When you work inside an R Project, RStudio automatically sets your working directory to that project’s folder.
That means your relative paths will just work — no need to manually tell R where to look.
Ditch the
setwd()
Once you start using R Projects, you should almost never need to use setwd().
If you find yourself typing it, pause and ask why — chances are, there’s a cleaner way to organize your files.
(Think of it as the “Ctrl + Z” of reproducibility — best avoided if you can.)